
I can’t really believe that this is still an issue, or that it was ever an issue. Yet, here we are. Back in Revit 2017, I don’t remember exactly, but Autodesk made some long overdue changes to the Text Note object in Revit. Yay! Unfortunately, it also meant that for some reason, the exact same Text note created in 2016, now was a little larger (physical size when printed to scale) when printed out of Revit 2018/19. Why is that an issue you ask? Well, it turns out that bounding boxes that controlled Text Note widths, were not getting bigger, so longer/larger text now dropped to next line, causing Text Notes on tightly packed details to overlap, run off the pages etc. Not good.
When I was still at HOK, we had an intern in SF (Alberto Tono), whom with the help of a seasoned vet Shaun Peppers at HOK San Francisco, tried to sort it all out. They got close using a Dynamo script, then asked me to review it, and make any necessary changes to make the whole thing work/work better. Here’s what we came up with at the end:
Open file in Revit 2016 then:
- Create Drafting View
- Collect all Text Note Types
- Place an instance of each Type in the View
- Get each Text Note width
- Store all of the widths in an Excel file
Update your model to 2018/19/20 and then:
- Read the excel file
- Collect all Text Notes from the Drafting view that we created.
- Match then to info stored in Excel
- Calculate new Width Factor based on actual width in current file, and width as it was reported in v.2016
- Set Width Factor for each Text Note Type
OK, so let’s talk about the first script.
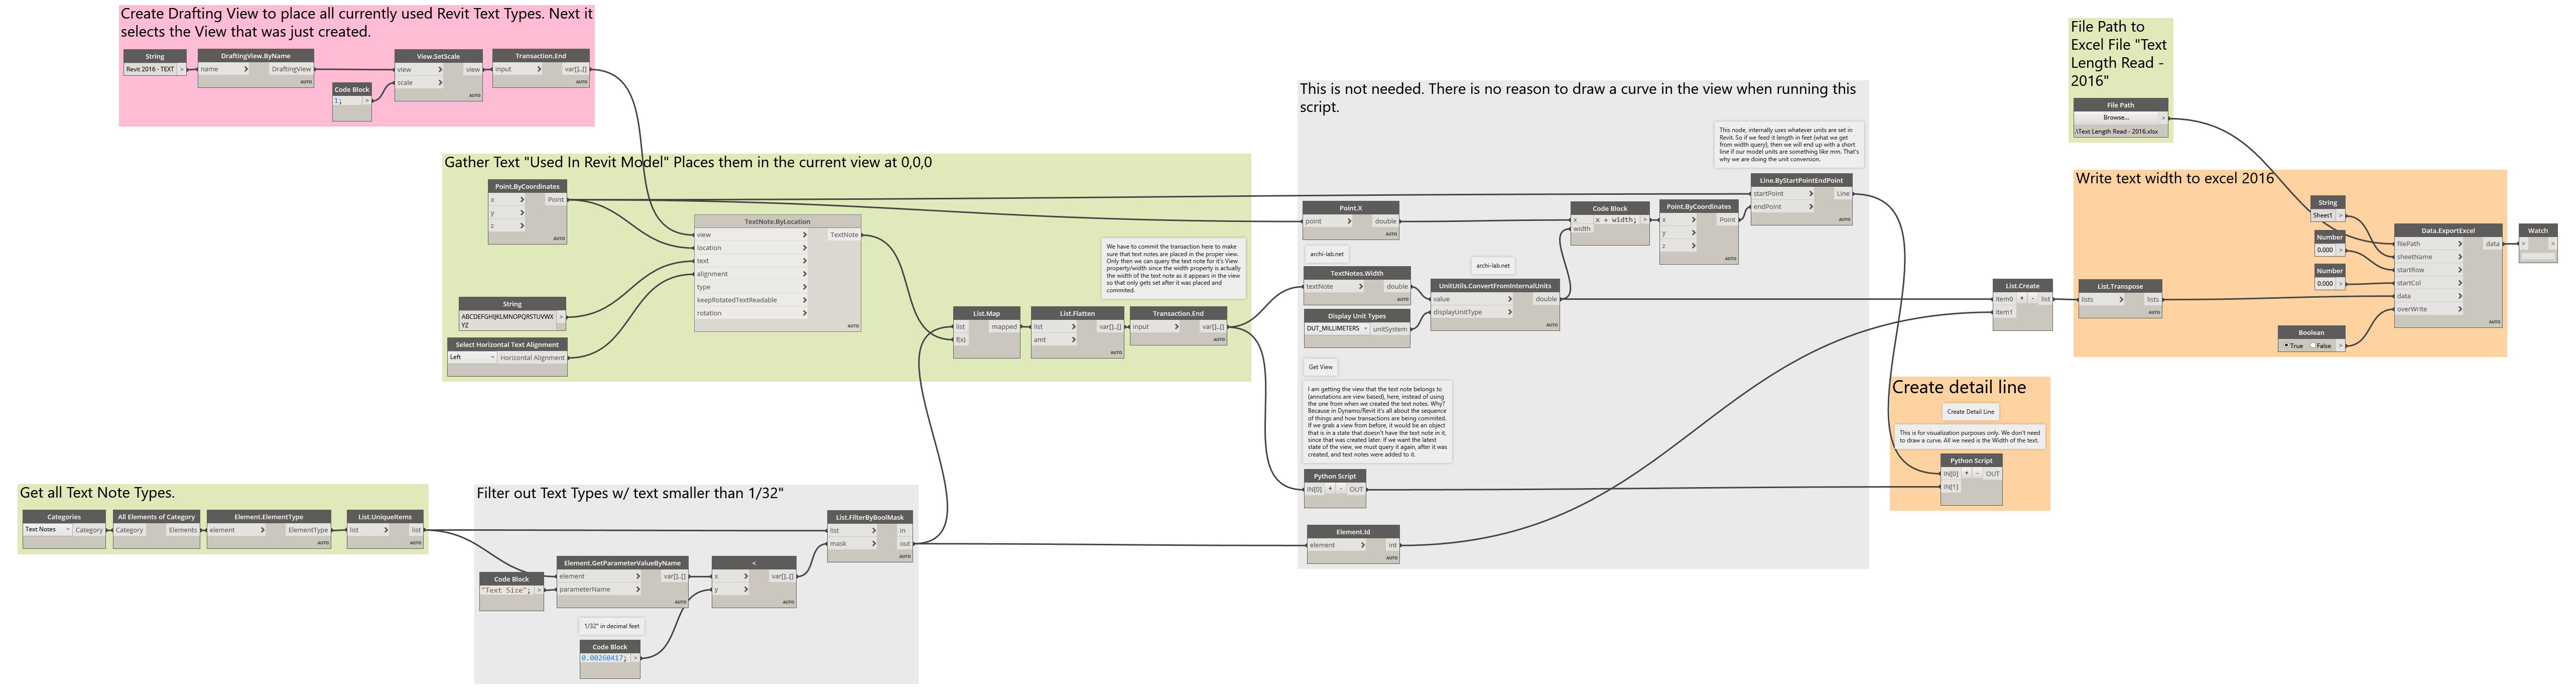
We start by creating the Drafting view and setting its scale to 1. This is important because we want to make sure that we are not measuring widths of Text Notes later, that are at different scales. We are also committing the transaction here using the Transaction.End node. The reason we do that is to make sure that the view exists in the model, before we go to the next step where we add Text Notes to the said view.
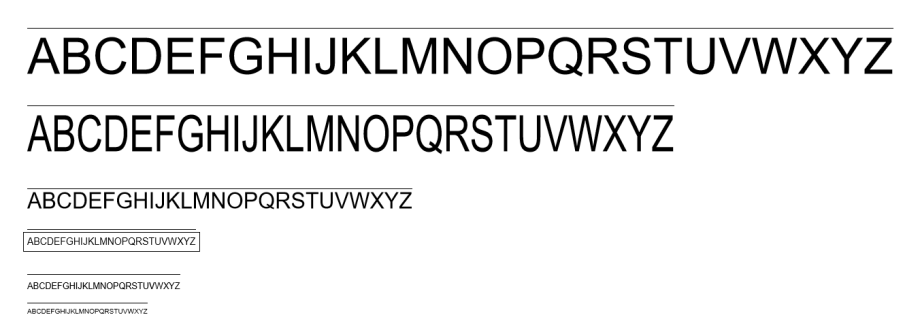
Now that we have a Drafting View, we collect all Text Note types. We need them to account for all possible notes that can be placed in the model. Additionally I have added a little step here where types that have font size smaller than 1/32″ is excluded. This is obviously not needed, but at the time I was told not to worry about small fonts since they were only used for Schedules or something along these lines. You can always get rid of that step.
OK, so we have all of these Text Note Types, and we create an instance of each in the Drafting View. The view scale is set to 1, so we can then extract from it, the Width value, and store that away in Excel. Just to be able to visually inspect the change later, I also added a routine that draws a Detail Line in the view next to the Text Note. That’s also not needed so you can get rid of that as well. However, if you don’t you can clearly see the before/after effect of upgrading the model from version 2016 to version 2019 by comparing the lines. Here’s the result after the upgrade but just before the fix to Width Factors:

You can see that the Detail Line is clearly shorter than the Text Note. That’s because of the said issue, where Text Notes got a little wider when upgrading from 2016 => 2019.
To draw the Detail Line you will need to use a little custom Python node. Here’s the code:
Again, this is optional, and only because I wanted to have a visual reference to compare the Text Notes before/after the upgrade.
OK, so we generate an Excel file, that lists an ElementId and original Width for the Text Note of that type. Once we upgrade the model, the same view will be there, with the same notes and same types. The Ids should also not change so we can match those up to the ones that we have in the new/upgraded model. Here’s the script:

In this script the only thing worth explaining would be how the new Text Width Factor was calculated. It’s simply (2016 Width / 2018 Width) * Width Factor that the Type has currently assigned. This also ensures that if in Revit 2016 we had some types that were not set to 1 for their Width Factor we account for that as well.
The result would be something along these lines here:
The before and after Widths can also be seen below. As you probably noticed, they are not that huge, but sometimes the small change, makes a huge difference.

I hope this helps those struggling with justifying an upgrade from 2016 to whatever version you are currently on. Personally, I never had to use that script, but I am sure someone did.
As always comments are welcome!
Cheers!
Ps. Special thanks to Alberto and Shaun for coming up with the initial scripts. I would not even think to look at this if it wasn’t for someone pointing out that there is a problem.


Interesting!!!!
Thanks, Konrad
Can you post up your Dynamo script for testing?
Rob
Rob, Dynamo and Revit files are available for my Patreon Supporters. Feel free to sign up: https://www.patreon.com/archilab
I created a similar graph to fix the Text upgrade problem.
Always wanted to post it, but I felt it was too quirky for general usage.
I took a slightly different tack.
First (from 2016) I export all of the Text Elements to Excel
Then after the upgrade, I compare the Text Elements and calculate how many (vertical) lines they use. If they use the same number of lines (which would mean it did not word-wrap), I leave it alone. If the number of lines in 2017+ is greater than 2016, then I apply the “Embiggen Factor”
Several quirks:
– I use only one “Embiggen Factor”. I did not account for many different Fonts
– It seems to hang up if there are more than about 5000 Text Elements. I’ve let it run over a weekend and it never finished. So there may be a memory leak in there. I deal with that but splitting the Excel file into two or three 5000-line chunks.
– Text inside Groups cannot be changed, so I export a separate Excel report on those & manually changer them later.
– I made a small python node that sets the Text element’s Width.
Apparently, I can only upload one file here, so I Zipped everything up
Attachment: TextBoxes.zip
Dave,
I am a little confused. I believe that a criteria that measures number of “lines of text” to determine if it changed is completely unreliable in this case. Also, clearly there are issues with performance of your solution. I understand that you wanted to share it, and much appreciate it, but at the same time I can’t “endorse” it. I will leave the downloads links in the comments, but I cannot add it to the post. Apologies, and good luck!
I completely understand your not endorsing my graph. I’ll freely admit its quirky enough to not be in the wild. It works well enough for me, but probably not others.
I would, however, like to explain my method of determining word-wrap.
I created a Python node to get the height of each Text Box.
Then I divide that height by the Text Height.
Then I divide that by 1.58, which is the line spacing.
That should give me the number of Lines in the Box
Repeat the process after the update and compare.
Thanks for the comments (and packages!)
Endorse was maybe a little too harsh. I do appreciate you putting the work in, and making it work for yourself. I also appreciate you sharing it with us. That’s awesome! At the same time I was just trying to say, that I cannot push this solution to broader audience because I don’t feel like its a solution that would work for most of the users. It seems to be very specific to your needs. Still…great work! Keep it up.
Thanks for sharing Konrad. Shaun Peppers at HOK San Francisco deserves the credits for the first version of this script FYI.
Yikes! My bad. I will get that fixed ASAP.
Well done guys!
Thanks!
Hi there Konrad
Im still very new to Dynamo.
Can you tell me, where the “Textnote.width” comes from? I cant seem to find it anywhere?
It’s from a package called archi-lab.net. Please use Package Manager to download it.